Kaleidoscope
Objective:
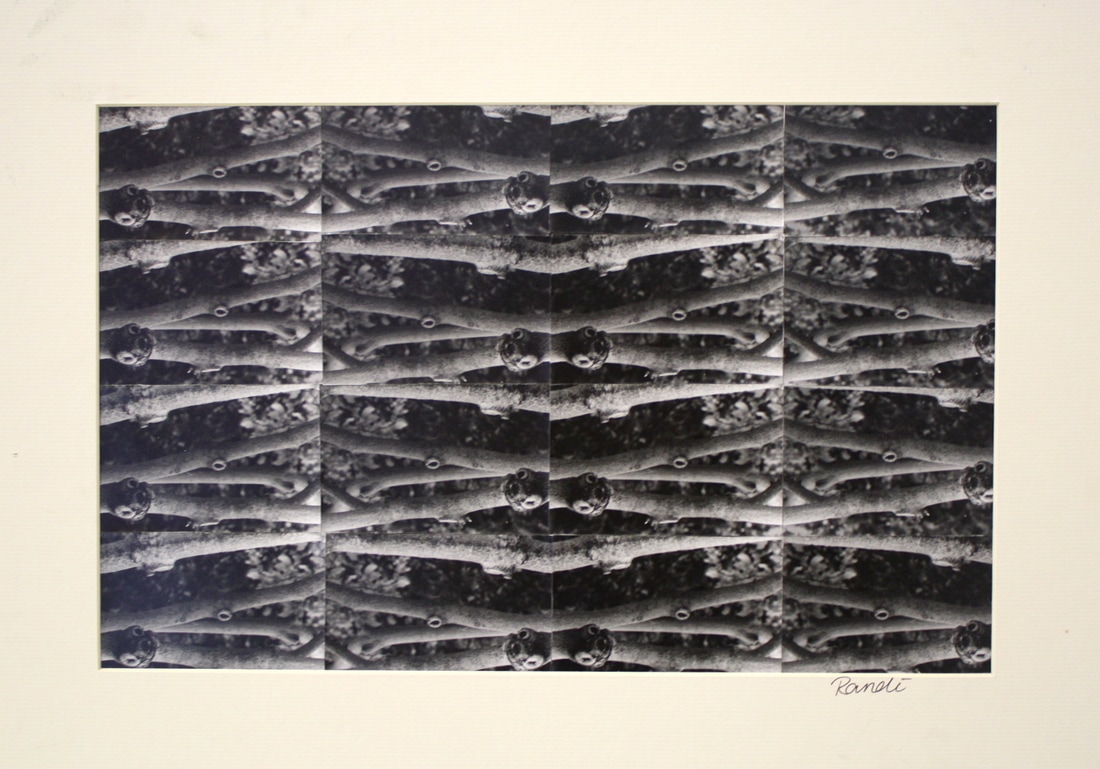
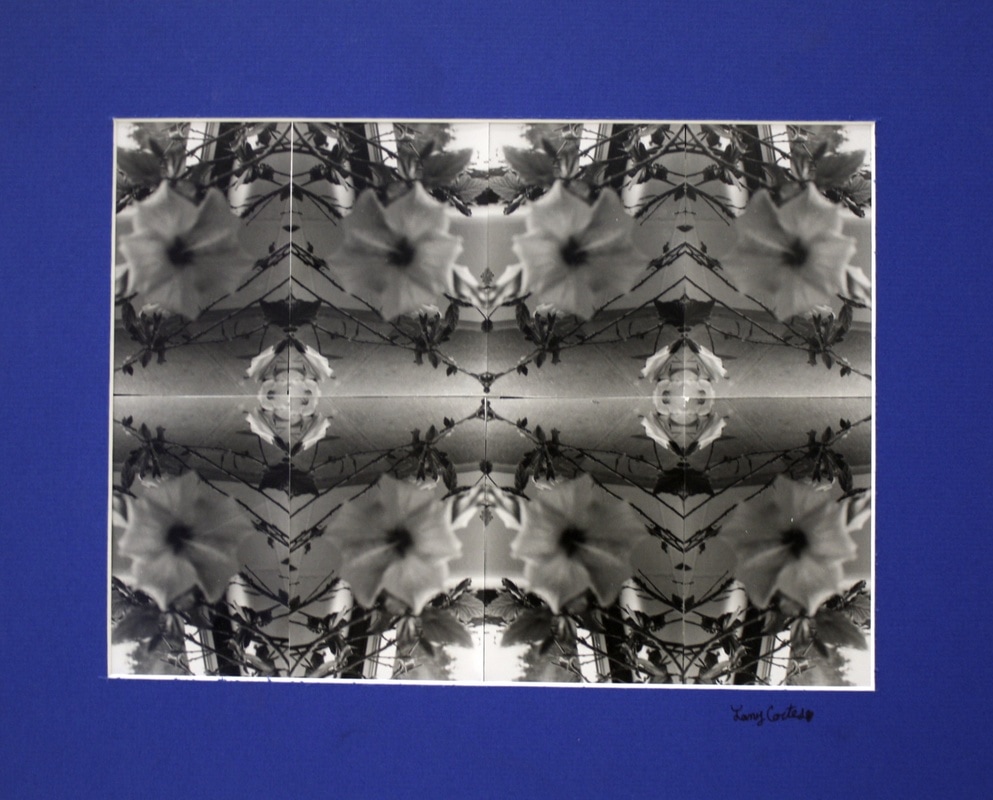
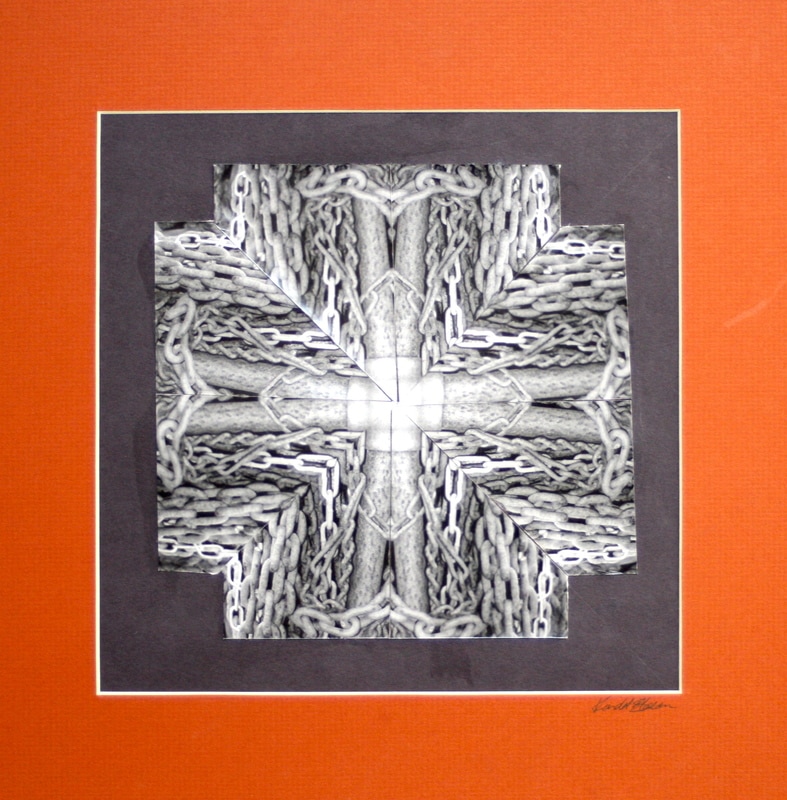
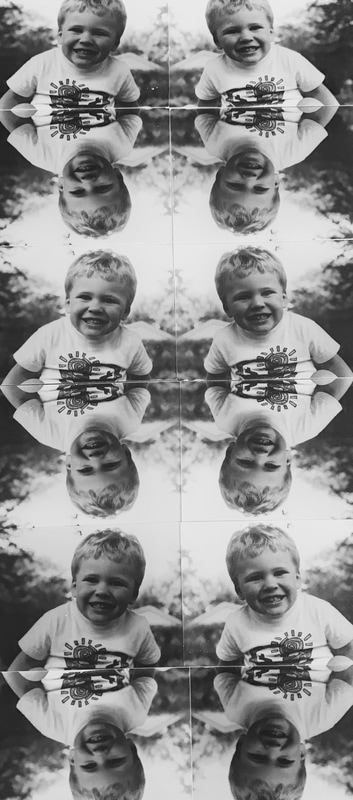
Manipulate finished photographs to create a kaleidoscope composite print.
Since you don’t necessarily have to shoot a roll of film for this project (you could select from your stock of existing negatives) this is a good first project to begin the semester with.
Directions:
Read the directions for how to make a kaleidoscope composite print on pages 256 to 257 in The Photographic Eye.
- There is one difference between these directions and what I want you to do for your project. Instead of the 4 prints that the book tells you to print, you will need to print a minimum of 12 prints. If you want more impact, you could even make 16 total prints for this project. Choose one of the smaller sizes offered on the easel – Smaller than 5x7
- See the example of this project hanging in the front of the room. You have more options with how to put this project together other than printing half of the prints glossy side down and half with the glossy side up. You could for instance print all of the prints the correct way, but then when you are assembling the project turn half of the prints upside down. See if you can come up with other creative ways to assemble your kaleidoscope project.
- Craftsmanship is crucial with this project. Make sure all of your prints are exactly the same size. Be careful when cutting your photo paper so that it is all the same size and that you put the photo into the easel straight.
- After you have determined how you will assemble your prints, measure a backing board (use railroad board) that is two inches larger in height and width than your project. Draw a line on the backing board to help align your prints straight.
- Use the rubber cement to stick prints to your backing board. Remember rubber cement is “contact” cement and you must put it on both the back of the print and onto the backing board for the adhesion to work.
- This work needs to be matted. You will probably be using railroad board to do this because of the size.
|
|
|
|
| kaleidoscope_.docx |
